Panel Upgrades: Small Investments, Big Improvements
For owners of older aircraft, there are several relatively low budget upgrades out there that can make a big difference in the cockpit.
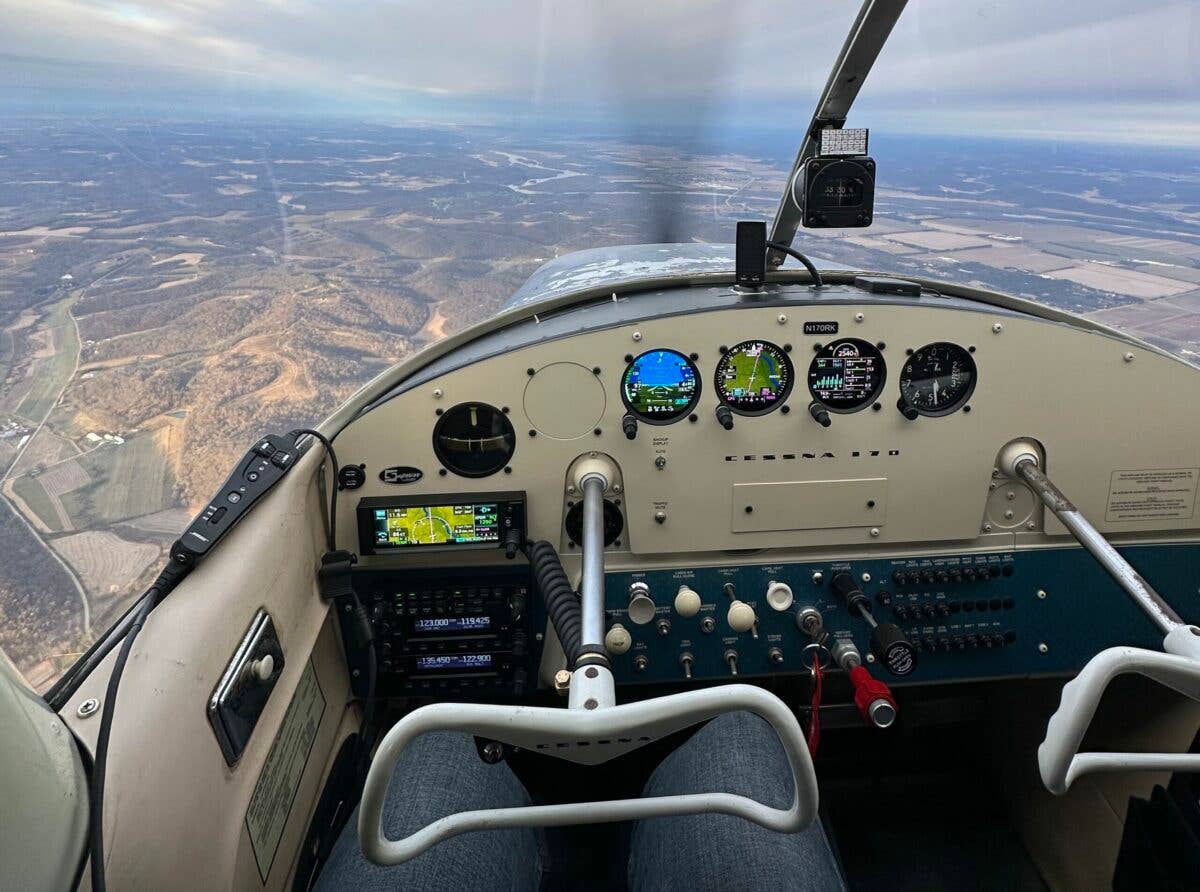
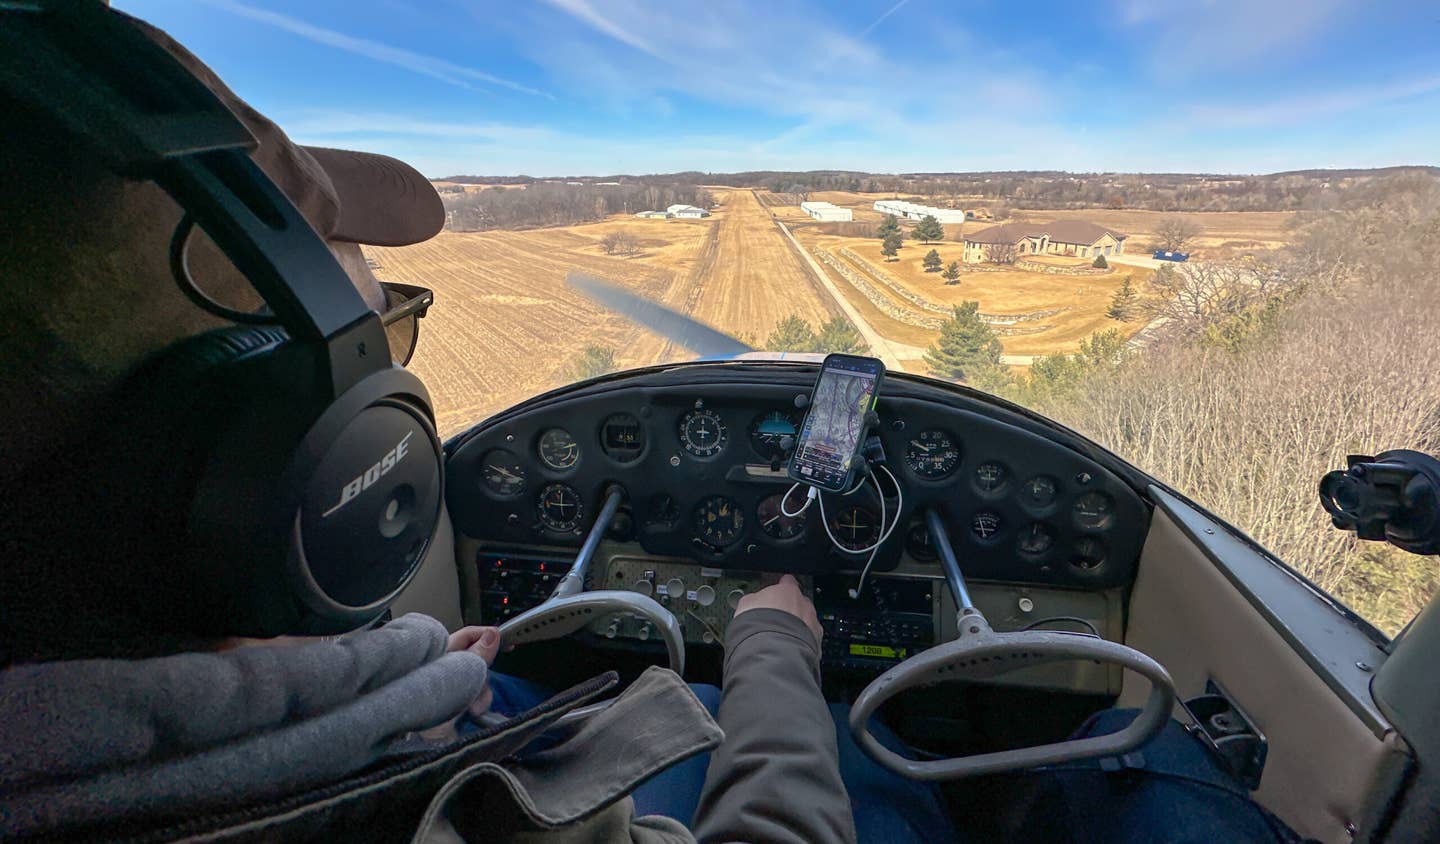
Even the most comprehensive panel upgrades can benefit from relatively inexpensive finishing touches, such as the anti-glare wrap on top of the panel [Photo: Jason McDowell]
As I approach four months behind my Cessna 170’s newly overhauled and updated instrument panel, the learning curve has been fun. Most notably, the thorough integration of ADS-B traffic data front and center on the Garmin GI 275 has vastly improved safety without having to go completely heads-down in the cockpit, and the neighboring GI 275 Engine Indication System (EIS) has resulted in my paying more attention to my engine than ever before. The panel overhaul has truly been a game-changer.
Nice as the Garmin equipment has been, I’ve also been pleasantly surprised at how effectively some of the smaller touches have improved the flying experience. Three of them cost less than $500, and they’ve completely erased some annoying distractions in the cockpit. Here’s a short overview of how a relatively small investment can significantly improve the flying experience of many old aircraft.
Matte Black Glareshield Cover
Look through old photos of aircraft from decades past, and you might notice how many utilized matte black paint just ahead of the cockpit windows. Like the black grease many athletes apply to their faces, this reduces reflection and glare and improves vision accordingly. Since then, anti-reflective paint has become available in various colors, but the concern remains.
When I had my panel overhauled, I didn’t consider this, and the tan-colored top surface of the “dashboard” created a horrible reflection in the windscreen. It was most noticeable on final approach, when the runway ahead would become visually washed out, and some of the details of the metal surface were also reflected in the windscreen. It was distracting, and I needed to do something about it.
After exploring fabric-based options, such as thin carpets and upholstery that could be applied to the surface, it occurred to me that a matte vinyl wrap would be a lot cleaner looking. I contacted a reputable local car wrap company, and a couple of weeks later, a technician drove out to my hangar to perform the install. It took him about 90 minutes. While my final bill was a bit steep at around $200, the job was done perfectly, with no imperfections or air bubbles that would certainly have resulted had I attempted the work.
Now, there’s no glare at all visible on the windscreen. Forward vision is clear, and there are no distracting reflections apparent anywhere. Now, when I get into various airplanes, I immediately notice such glare and reflections and recommend the same solution to their owners.
Permanently Installed Push-to-Talk Switch
When I lived in Kalamazoo, Michigan, I had a next-door neighbor who owned what was perhaps the most annoying dog on the planet. It was a corgi named Max, with a shrill bark that apparently fell into the same frequency range as a razor blade being scraped at high pressure across a chalkboard. Max was an idiot. He barked throughout the day at everything, from leaves falling to his own tail.
Push-to-talk switches that mount to control yokes with Velcro straps aren’t quite as annoying as Max, but they come close. They’re bulky, taking up space on yokes that might be better suited to a comfortable grip. Even tightened down, they freely spin around the yoke, constantly moving into new and inconvenient positions. And many I’ve used had sloppy, imprecise buttons that rock from side to side, leaving you guessing as to whether and when the switch inside would actually activate.
When I planned my new panel, I made sure to insist upon a new push-to-talk switch that had none of these issues, and the result is pure bliss. The switch is solidly attached with fasteners on the forward side of the yoke and never slides around and shifts position like the old one. The button itself produces a distinct click when activated and never cuts out.
Best of all, it was pretty affordable. The switches themselves were only $8 each, and while I don’t have a specific, itemized figure for the labor hours required, it was probably no more than five or six. In the end, it was the equivalent of replacing Max with a well-behaved service dog, and I appreciate the upgrade every time I key the mic.
Vernier Mixture Control
This one probably isn’t very relatable to owners of modern, complex aircraft. But for anyone flying around a basic airplane from the 1940s or 1950s, there’s a good chance the plane is equipped with a terribly imprecise mixture control that looks, feels, and operates like a carb heat knob. And there’s a 100 percent chance it’s miserable to use.
This is what my airplane had for most of its life. Attempting to precisely adjust the mixture was laughable, given the knob’s 2 inches of travel. Leaning the engine became a wild guess and often amounted to pulling that knob out “about that much” and hoping for the best.
I hated that old mixture knob with a passion and vowed to one day upgrade to a proper vernier-style knob. I did just that during my panel upgrade, opting for a McFarlane solid wire vernier mixture control. For just over $200, I went from vague guessing to precise control, and when paired with the aforementioned GI 275 EIS, I now enjoy fine-tuning my mixture quickly and easily during every phase of flight. Best of all, I no longer have to worry about inadvertently pulling that stupid carb heat-style knob an eighth of an inch too far and causing the engine to stumble.
Summary
Not every panel mod has to be a massively expensive affair. For less than $500, minor upgrades like these can legitimately improve your flying experience as well as safety. To save some labor dollars, add items like these onto your next annual, and with the airplane all opened up, it will likely take your mechanic that much less time to perform the installation.

Sign-up for newsletters & special offers!
Get the latest FLYING stories & special offers delivered directly to your inbox

