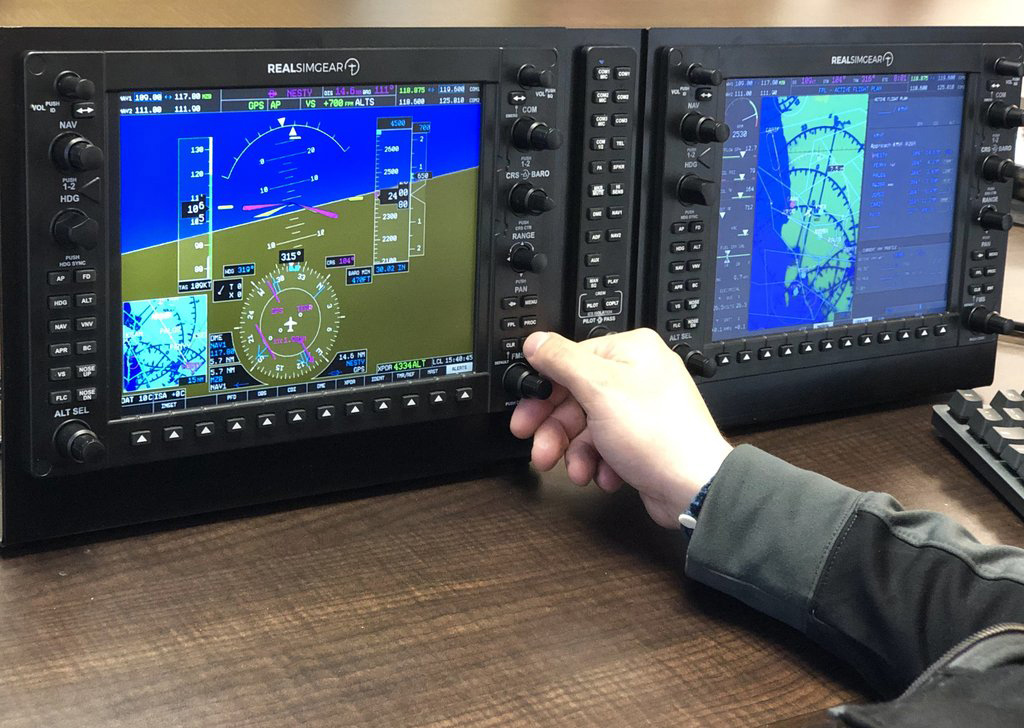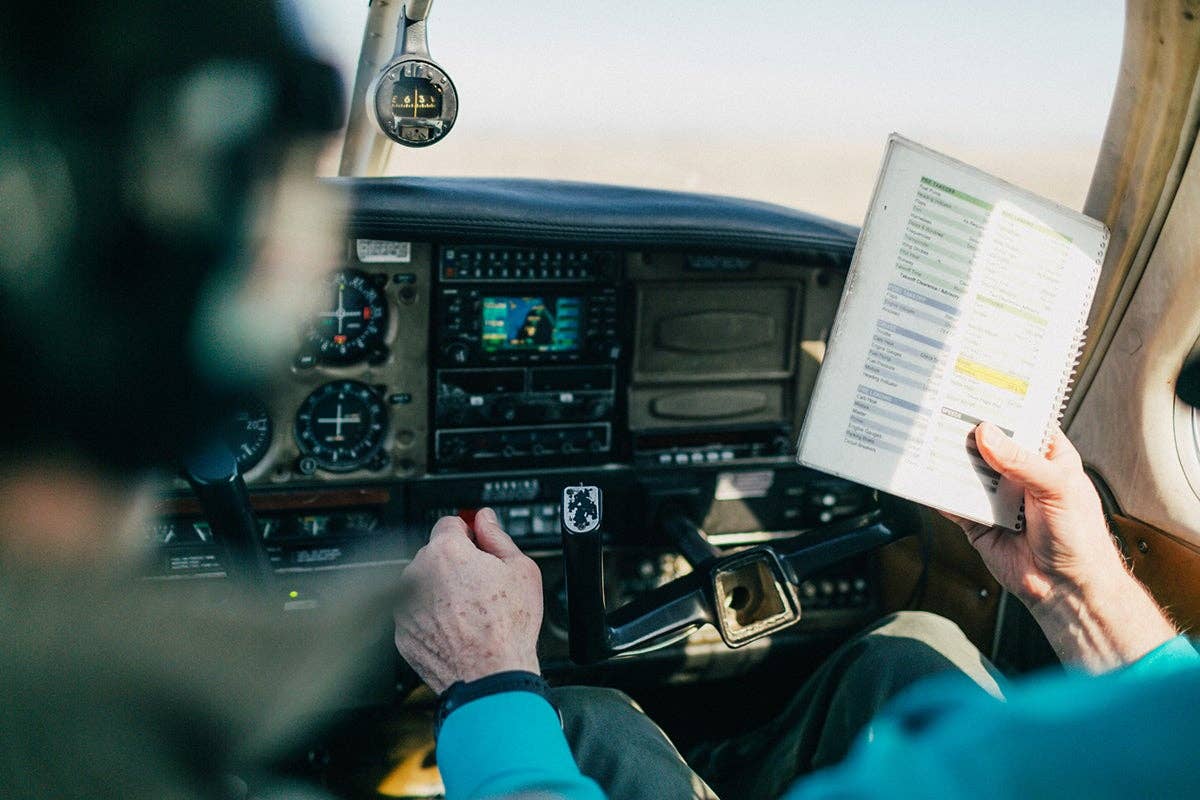
A glass-panel cockpit is intended to make flying an airplane simpler - and safer - by presenting virtually every bit of information the pilot could ever require during a flight front and center on a single display. In more sophisticated glass cockpits, there are at least two displays: the PFD, primary flight display, that can include the engine instruments, the "six-pack" of flight instruments and communication and navigation information, and the MFD, a multifunction display that's used for presenting a moving map with overlaid weather, terrain and traffic. There's an awful lot of information buried in the glass panel of a technically advanced aircraft (TAA) and therein lies the problem. Pilots flying with glass panels, including Garmin's ubiquitous G1000, Avidyne's Entegra and Chelton's FlightLogic Synthetic Vision EFIS system, have at least one thing in common: the need to spend quality time - not just a couple "get acquainted" flights - with the equipment before attempting to venture forth in weather that has the potential to get nasty.
If you're lucky enough to be the owner of a new glass-cockpit equipped airplane you'll ideally have completed the manufacturer's transition course. If you rent an airplane or buy a used airplane that is fitted with a glass cockpit, you owe it to yourself to get some formal training. You can opt to attend a scheduled ground school or enlist the talents of avionics-specific flight instructors. Either way, as Richard suggests, you can prepare for the ground/flight school training by reading the manuals and working with computer simulator programs or training CDs such as the four-hour, two-CD program Flying the G1000 IFR like the Pros! from Flying Like the Pros (flyinglikethepros.com). The Flying Like the Pros CDs offer an excellent ground school course that combines lessons on the operation of the G1000 with techniques for flying IFR, as it says, like a professional.
Since the glass cockpits are software-driven they're capable of complexities that can be overwhelming to an untrained pilot. It's easier to navigate through the various options and access the required/desired information if, as Master CFI J. Robert Moss, who presents the Flying Like the Pros CDs, recommends, you think of the levels as "chapters" and "pages." Learning to use any of the systems involves knowing what's available and where and how to find it. You typically select a chapter using dedicated and labeled buttons or keys, and once you're in a chapter you use a selector knob to move to each of the pages. With a page selected, there are "soft" keys that are assigned different tasks. A "menu" button brings up options within a page that you can select using a cursor usually controlled with a knob. Once a menu choice is made, an "enter" button is used to activate the selection.
The tactics involved in flying a glass-panel equipped airplane, once you're accustomed to the system's logic, are learning to avoid the "gotchas" that lurk in the systems' innards.
There are some procedures-or variations of them-that apply to any of the glass cockpits and are useful for avoiding confusion and embarrassment or more fatal errors. The following suggestions are based on the G1000 but the concepts will likely apply to other systems as well.
Always confirm that the database is current. On the G1000, when it first boots up there's a window that shows the status of the current database. If you neglect to check it at that point, you can go to the last page in the AUX chapter and see the status of the database there. The database contains vital information-changes to navaids and procedures-so if you're using the system to fly hard IFR it had best be current.
Once you've entered a flight plan, be sure to step through the waypoints to confirm that they're correct. Check the distance and bearing between each one to be sure they make sense. If you committed a finger-error when you loaded a waypoint, an unusually long distance between waypoints will tip you off to your mistake.
In the flight plan chapter of the G1000, as you step through the flight plans stored in the flight plan catalog, the map shows the big picture and the route from departure to destination; another excellent check that the flight plan you entered is the one you want to fly. Flying Like the Pros' J. Robert Moss recommends that you store the active flight plan in the first slot in the flight plan catalog. If for some reason the system goes down and reboots, the active flight plan will be lost. But with it stored in the first slot, you'll be able to call it up quickly without having to scroll through the long list of stored flight plans.
On the G1000, the active frequency is the one to the inside of the communications box with the standby frequency to the outside. A useful tactic is to always talk on comm one and use comm two to monitor frequencies such as ATIS or AWOS. When you're ready for takeoff, load the tower frequency in the active slot on comm one and the departure frequency in the standby position. You can also load the departure frequency in the active window on comm two and that way, in case comm one fails shortly after takeoff, a quick push of the comm two button will have you back in contact with the departure controller.
As you're motoring along it's important to be sure you know what the autopilot is using for its navigation source. If you've been navigating by GPS and the controller gives you vectors and a heading to fly, you should first sync the heading bug to the current heading, then select HDG and turn the heading bug to the desired heading. When you change from nav mode to heading mode be sure that if you have to go back to nav mode following a hold, for example, that you're in the mode you think you are. If you believe you're navigating by GPS and you're in heading or OBS mode, you may have to explain to the controller why you're not where he expected you to be.
As with the navigation source, not knowing which comm is active can also be embarrassing and a source of confusion when you least need it. If you select the number two comm or nav to change the standby frequency to active, it's a good practice to always move the cursor back to the number one comm or nav.
Flying in the Northeast, although "cleared as filed" is often the clearance initially given, it's not long into the flight when the controller will say, "I've got a change of routing. Are you ready to copy?" A tactic that makes it easier when you get the inevitable change of routing is to initially only enter the first waypoint of the new routing. Once you've gotten the airplane settled down and headed for that first waypoint you can then go back to the flight plan and enter the rest of the waypoints for the new route.
Another useful tactic in using the G1000 is to make use of the vertical guidance feature. In the flight plan chapter, the vertical guidance page lets you set an altitude you want to reach and a distance from the point with a selected rate of descent. Typically, it's used to plan a descent to an airport, but you can also use it when you're cleared to descend with a crossing altitude at a waypoint. Once you indicate the distance and rate, say 500 feet per minute, the G1000 displays two crescents on the map. One is the point at which you'll have to begin your descent at 500 fpm to reach the second crescent at the altitude and distance from the waypoint you programmed.
Although the vertical guidance crescents only appear on the map page, by using the AUX setup you can change the data field at the top of the screen to include the vertical speed required (VSR) and that way, no matter what page you're on (weather, traffic, etc.) you'll always have an indication of the vertical speed required to reach your target altitude.
In preparing for an approach, another useful tactic is to set the baro minimum at the bottom of the Timer/Preference window as an alert to let you know when you're within a preset altitude, say 50 feet, above the DA or MDA. Once you set the baro minimum be sure to select it "on" so you'll get the alert.
If there's a holding pattern instead of a procedure turn for course reversal on an approach, the G1000 will automatically "un-suspend" as it comes around the turn and continues on the approach. But, if you're required to stay in the hold, it will un-suspend each time you come around the hold and you'll have to re-suspend it in order to stay in the hold.
On the other hand, if you're being given radar vectors on an approach that includes a hold for course reversal, you're not expected to fly the hold. But if you activated the approach the G1000 isn't going to know you're not going to fly the hold, so you'll have to "delete" the "hold" from the flight plan in order for the autopilot not to suspend your progress on the approach.
On the airway, given a hold to pause your advancement, you can use the OBS button to suspend the forward progress while you're in the hold. When it's time to leave the hold, another push of the OBS button will let you move on down the road.
With an approach loaded, if you're getting vectors to final and you select vectors when you activate the approach, the flight plan will drop all the waypoints except the final approach fix and show the inbound leg from there to the airport. Instead of selecting vectors to final, there's a way to get the map to display an extended centerline inbound course line. If you select an approach fix in the flight plan that's lined up with the runway and push the "direct" button, you'll find a box marked "course" at the bottom of the direct-to window. If you cursor down to the box you can enter the heading for the final approach course. Push "enter" and then confirm that you want to activate the direct course, and you'll get the extended centerline on the map and keep all the intermediate step-down waypoints of the approach.
On a precision approach, once you're established on the glideslope, you can preset the altitude for the missed approach holding altitude. But on a missed approach from a non-precision approach, if you've set the altitude for the MDA in the Garmin GFC 700 autopilot and hit the "go-around" button for the missed, the autopilot will disengage and the flight director will start to show the guidance for the go-around but then, since it's already at the preset altitude, stop directing the climb. If instead you push the go-around button twice, the flight director will direct the climb without stopping at the preset MDA altitude.
From this limited exploration of the depths of software-driven glass cockpits, it's obvious there's a lot to learn. As a result, competently using a glass cockpit is a matter of knowing your way around its menus, knowing how to access the functions and how to get it to display the information you want to have available at any given point in a flight. The systems are capable of making your flying safer and easier-as long as you're capable of working with them. If you don't skimp on the learning process, your glass will be more than half full.

Sign-up for newsletters & special offers!
Get the latest FLYING stories & special offers delivered directly to your inbox


