Brandon Rose
April 2010 Flying cross-country by visual flight rules is a far less precise endeavor than flying IFR (see Robert Goyer's IFR Flight Prep: A Whole New Game April 2010 article for more info). As a former Navy fighter pilot turned GA pilot once put it, VFR flight consists of "sniff-checking your way through weather" –– especially in a fairly slow airplane. Regardless of how much planning you've done, or what the weather folks told you just 10 minutes before you took off, or how much whiz-bang technology you've brought to bear in your planning, what really matters is reacting smartly to the ever-changing information that your "Mark II eyeball" technology sees out of the cockpit window.
As a result, a lot of VFR pilots I know put far less weight on all that preflight technology and effort. My partner in a Cessna 120, who’d been flying tailwheel airplanes for a dozen years before we bought the Cessna together, had an approach that consisted, more often than not, of looking at the local weather to make sure it was VFR — which meant standing on the airport ramp and looking up at the sky — and then launching in the general right direction, figuring out the rest from there. He figured it eliminated the ultimately useless time spent poring over forecasts and charts that wouldn’t turn out to be right anyway.
If the weather deteriorated, we’d turn around and head home, or look at a chart in the airplane and figure out an alternate –– sometimes calling weather en route to get the actual conditions for potential alternate routes or destinations.
When I bought a Cheetah and started flying most of my flights solo, I took a different approach. For local trips, my planning is more cursory. I’ve developed my own flight plans — 5-by-7-inch sheets of paper that fit on a kneeboard that list the waypoints/airports on the left and have columns for heading, distance and VOR and radio frequencies.
I look at a chart and plug in the relevant waypoints and airport identifiers. Then I pull out my Garmin 295 portable GPS (which still works fine and will remain in use until someone gives me a new one) and put the waypoints in as a route. That gives me the heading and distance for each one, including the total distance and estimated time. That total tells me whether the route is reasonable, in terms of fuel endurance, with at least an hour’s fuel reserve (my own personal minimum).
I go back to the chart, as well as my trusty Flight Guide, to get any relevant VOR and airport frequencies. I also look up the airport information for my destination and put it under the identifier in the left column of my flight plan: elevation, traffic pattern altitude, runway headings, any weird traffic pattern notes. Approach, tower and ground frequencies go on the right-hand column.
The bottom half of the sheet has spots for time of start (and which fuel tank the start is on), time of takeoff, time of landing and starting and ending tach times. The rest of the lined space, on the lower half of the page, is where I note ATIS information, ATC instructions and transponder codes, when I change fuel tanks, and any other flight notes. But there are also good VFR flight-plan sheets that you can buy, ready-made, from numerous vendors.
I generally call Flight Service the day before, and then again the morning of the flight. If the flight's later in the day, I'll call again right before heading to the airport to see if anything has changed. Some people prefer getting weather over a computer. I prefer talking to a person. If I get an unhelpful briefer, I just hang up and call back until I get one who seems clued in.
But again, I know from experience that all that is only a guide. The real decisions will have to be made en route.
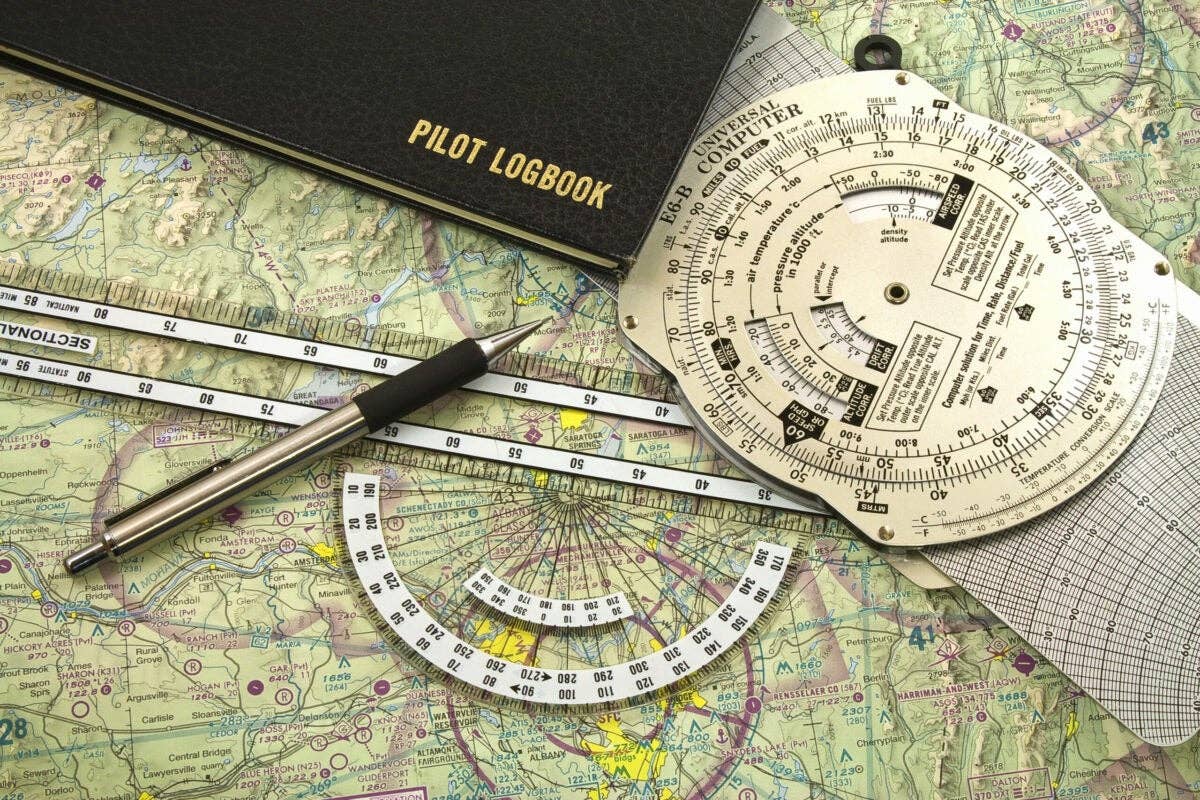
When I’m flying out of known territory — or on my long, transcontinental flights — I spend more time poring over maps and charts ahead of time, to get an idea of the hazards, terrain and possible options I might want to keep in my head. My favorite tool for this is a huge VFR planning chart for the entire United States produced by Sporty’s. Called the JNCA-5 Planning Chart, it takes up a chunk of the living room (or hotel room) carpet. But looking at it, I can evaluate the best passes through mountains (it shows terrain) and roughly plan three or four days’ routes. Then I can go to the appropriate sectional charts to get the details, with a clear idea of what details I’m seeking.
Could I do that on a computer? Yes, but I couldn’t get the entire big picture in enough detail to see the terrain and visualize the long-term route consequences of each local route decision.
Having a sense of the highest obstacle points, basic terrain features and other salient features of unknown territory before I get in the airplane reduces my workload in the airplane. It has also helped me make good, lifesaving calls when things go wrong and I have to make a fast decision, all alone in the cockpit, about whether to climb, descend, turn around or keep going.
Some people fly glass-cockpit airplanes and can easily get terrain information in flight. I don’t have that luxury. But even if I did, I’ve never been completely comfortable being totally reliant on a screen not going blank. And if you’re flying low enough for terrain to be a factor, a little time with a chart beforehand can prove invaluable when all else fails.

Sign-up for newsletters & special offers!
Get the latest FLYING stories & special offers delivered directly to your inbox

