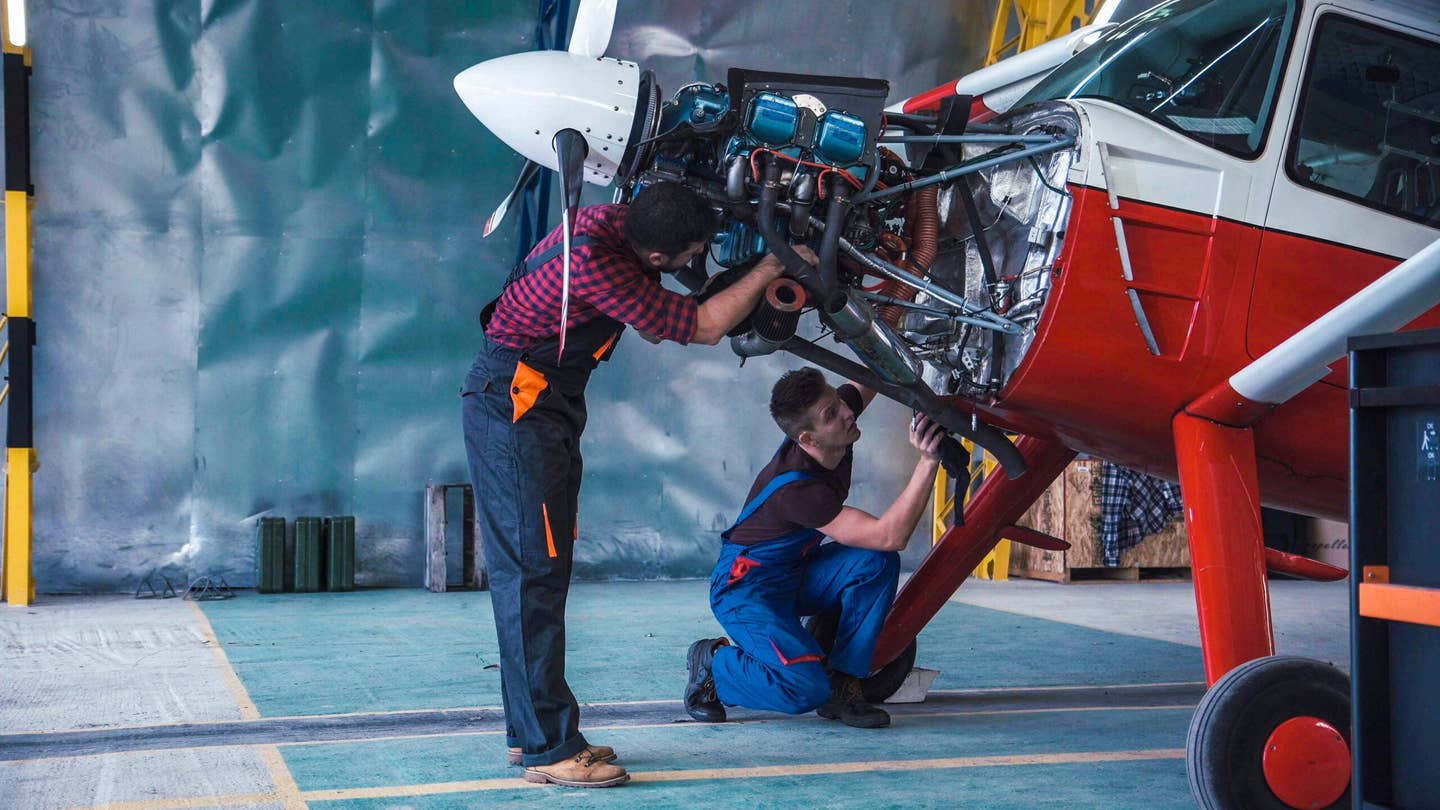
Servicing Cessna 172 Stuck Exhaust Valves
A rough-running engine means it’s time to pop valve covers.
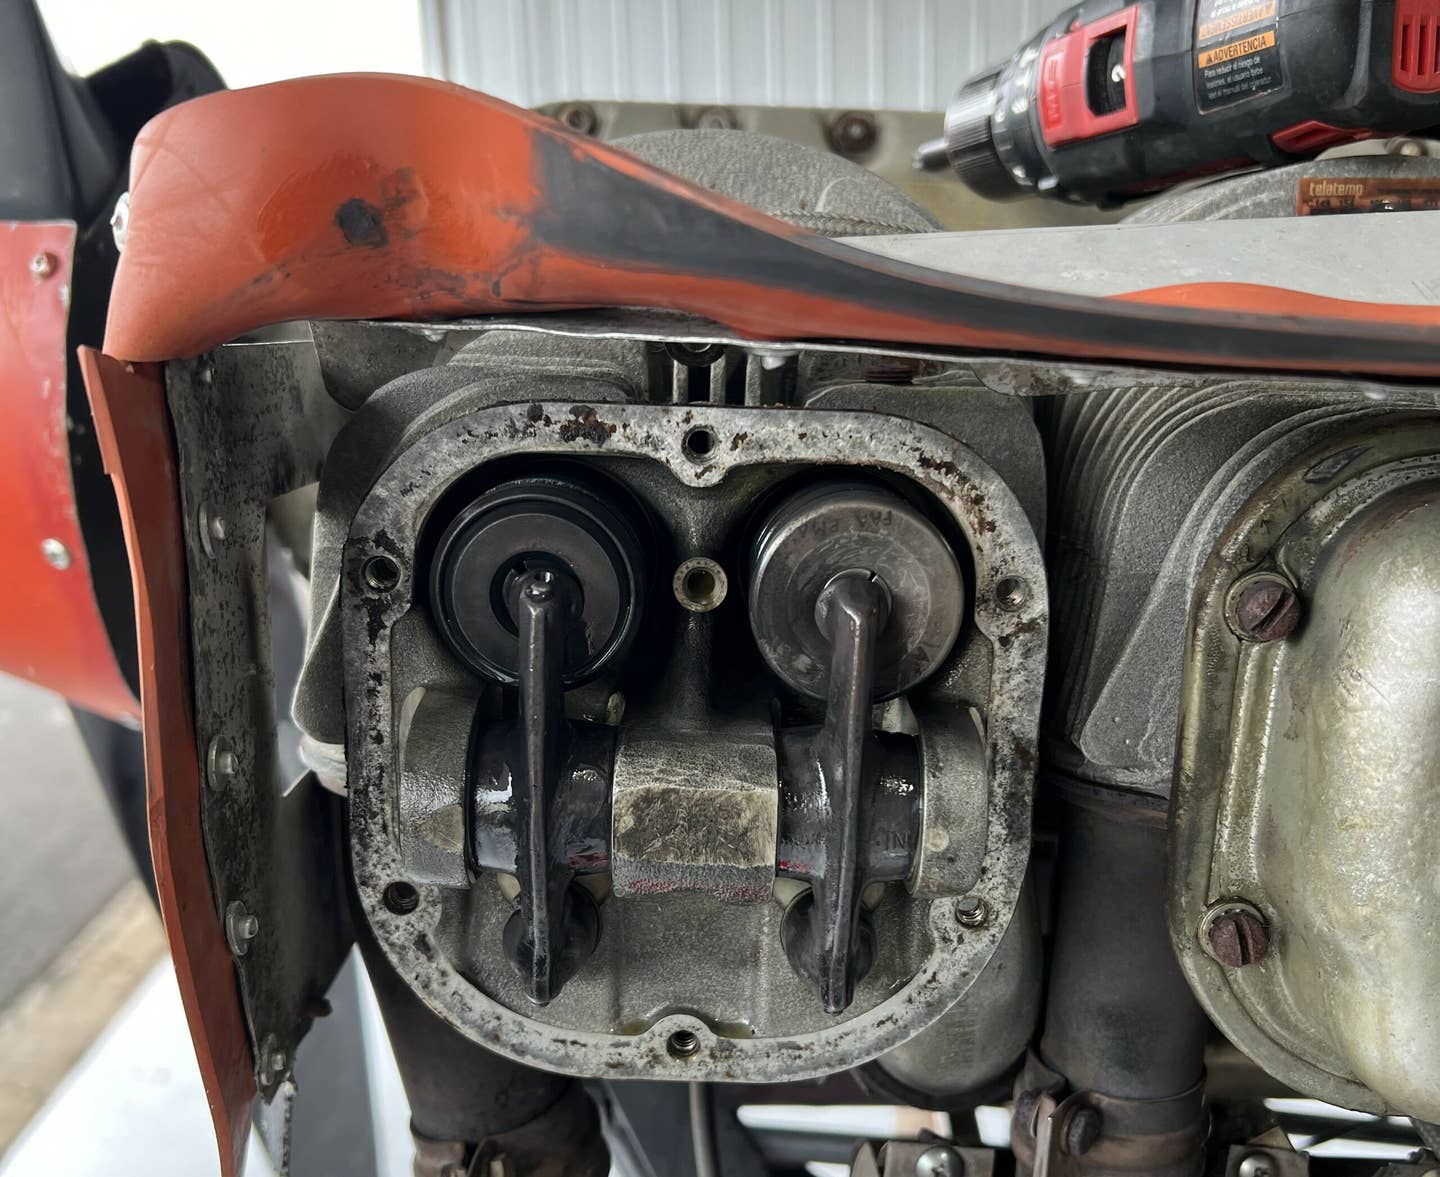
In aircraft maintenance, the line between preventative and unscheduled maintenance can often blur. [Courtesy: Richard Scarbrough]
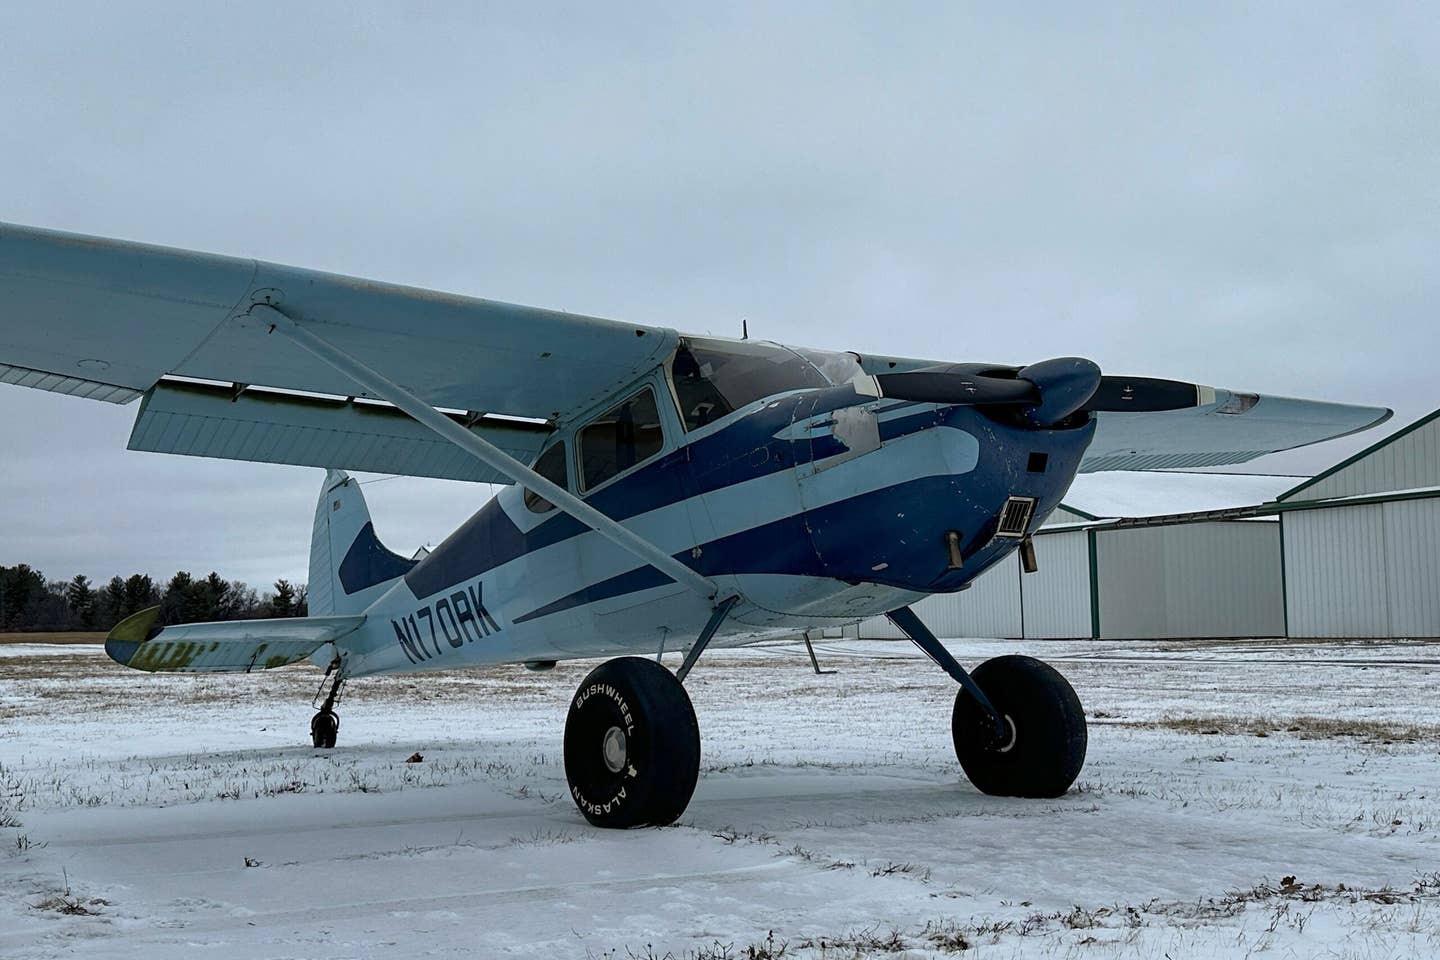
Recently, a GA pilot at Newnan-Coweta County Airport (KCCO) in Georgia pulled a Cessna 172 out of the hangar, ran through a quick preflight inspection, and yelled, “clear prop!”
He fired up the aircraft, only to find the Continental O-300-D engine started running rough. That was as far as it went. Mission aborted. The aircraft never left the ground.
Aircraft Troubleshooting
Cessna 172 owner Corey Sampson reached out to me to discuss the engine running rough and the dark side of maintaining an aircraft: unscheduled maintenance.
The first step in the troubleshooting chain was to remove and replace (R&R) the spark plugs, as they were coming due soon. That didn't help. The next step was to run the engine while idle, using a hand-held laser thermometer, and take the temperature of each cylinder one at a time.
- READ MORE: Cessna 172 Maintenance Planning
One by one, the temperature readout for each cylinder measured 150 to 160 degrees Fahrenheit. The number 4 cylinder was 95 F. Cylinder number 5 was 159 F, and number 6 was back to around 95 F.
Sampson could now perform preventative maintenance by wearing his owner/operator hat. Once troubleshooting leads beyond preventative maintenance, it is time to turn around the hat to the A&P side and begin unscheduled maintenance.
Unscheduled Aircraft Maintenance
There is a trick to relieving pressure off the valves to remove the rocker arm while keeping enough resistance to hold them in place to pop off the rotocoil, keepers (valve locks), and springs. It was time for the rope trick.
Checking in with JD Kuti, president of Pinnacle Aircraft Engines in Silverhill, Alabama, I asked him to break down the procedure for me:
- Feed rope into the spark plug hole.
- Spin the prop until the rope holds the valve in place.
- Use the spring compressor tool to remove the keepers and valve springs.
I watched a mechanic on the internet try to pry off the valve keepers with a pocket knife. That looked like a good way to get cut to me. Back in my engine shop days, we just popped a magnet against the valve locks, and voilà, you set them free.
- READ MORE: The Daily Life of a Repair Station
Kuti mentioned a trick he has used in the past while servicing valve guides: “If you need to drop the valve into the cylinder, tie a piece of floss to the valve through the port. If I’m cleaning a guide, I normally push the valve into the cylinder and pull it out of the bottom spark plug hole to clean the valve stem too.”
Kuti said he does not deploy the rope trick any longer, opting to pressurize the cylinder with air while the piston is at the bottom dead center (BDC).
Reamer Action Time
Sampson removed the spark plugs and fed the rope into place. Driving out the rocker shaft with a brass drift, he removed keepers and springs. It was then time to drop the valve. Taking the brass drift, he gently tapped the exhaust valve into the cylinder head.
Special reamers like these are just the ticket to clean up the valve guides. Slowly slipping the reamer into the number 6 exhaust guide, the tool moved smoothly for approximately one-half inch, then began to drag. The reaming process is not difficult, but it is imperative to keep the tool aligned so as not to damage the valve guide.
Where Kuti held the valve with a thin line, Sampson used mechanical fingers in the top spark plug hole to maneuver the exhaust valve back into place. With a flashlight in the bottom spark plug hole; the valve was visible and could be manipulated toward the guide.
Once in place, a magnet was inserted into the exhaust guide, contacting the tip of the valve stem, and the valve was slowly pulled back into place. Next, the valve springs and keepers were replaced, topped off with a rotocoil or upper retainer, depending on your setup.
- READ MORE: Testing the Hardware After a USM Retrofit
In aircraft maintenance, the line between preventative and unscheduled maintenance can often blur. While he had the time and the tooling available, Sampson opted to apply the reamer to all of the remaining cylinders’ exhaust valve guides as a precaution.
What causes exhaust valves to stick?
“Heat is the primary cause of valve sticking," according to AVweb. "High temperatures in the exhaust valve guide oxidize oil and form carbon deposits on the valve guide, and these deposits can cause the valve to stick. The most frequent reason for elevated valve temperatures is valve leakage.”

Sign-up for newsletters & special offers!
Get the latest FLYING stories & special offers delivered directly to your inbox

