Tool Control: The Ground School of Aircraft Maintenance
Whether you care for one airplane or several, having the right tool at arm’s reach is important.
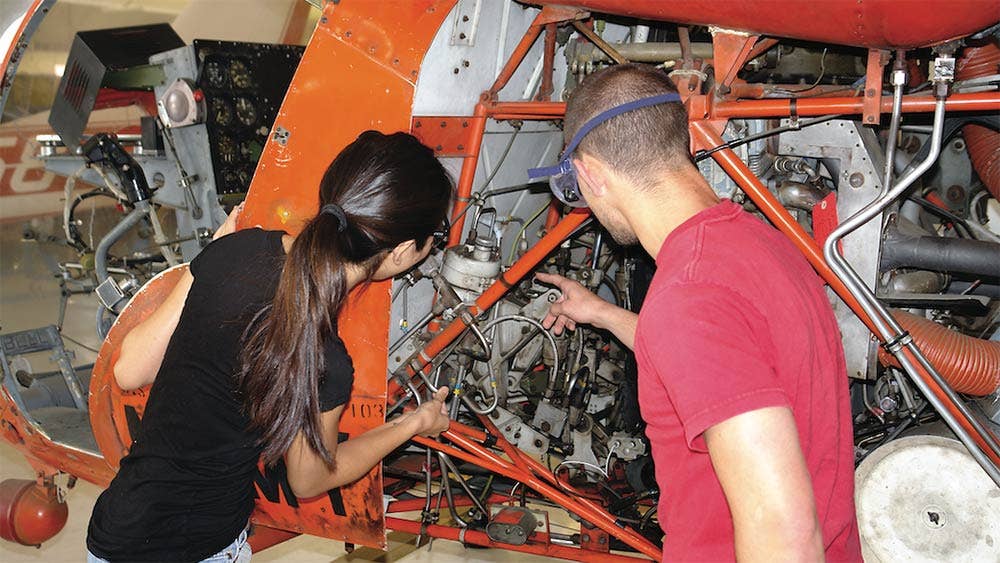
Maintaining an aircraft goes far beyond gassing up and taking off. [Shark-Co]
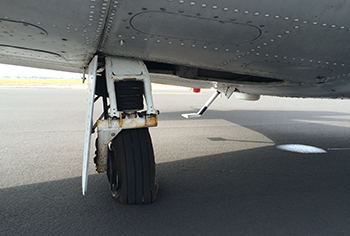
The trick was to balance on the nose wheel, at just the correct position, to access the backside of the bulkhead that held the canopy selector valve. This task was accomplished in the cold rain, with MIL-H-5606 dripping in your face, while your buddies punched your leg screaming, “Hurry up, we eat in 15 minutes.”
There is a reason why line maintenance is a younger person’s game. I was in my early 20s, somewhat limber, quite a bit thinner, and just cocky enough to think I could remove the faulty valve before the car left for lunch.
Yeah, right.
The trick to working blind is to go ahead and close your eyes. They cannot help you, and some say that eliminating one sense heightens the remaining ones. I had to rely solely on touch. The valve is behind a bulkhead, slanted inboard, and out of reach when standing flat footed on the deck. Perched precariously on the nose wheel, reaching behind myself, snaking my hand up the hydraulic line, I miraculously made it to the B-Nut. Congratulations, now how on earth do I get the thing off? I can barely reach it, much less loosen it. How can I remove it? This mission looks like a job for a crowfoot.
What is a crowfoot? For those impatiently headed straight to Google, click on the tool link. Not the Siksika Native American chief of the same name. A crowfoot looks like someone lopped the end off of a combination wrench with a hole in it to accept a ratchet drive. Well, sort of like that. It is an open-ended wrench, which incorporates a means to attach an extension. Perfect for hard-to-reach areas with minimal room for travel, just like the nose wheel well of an A-6E Intruder.
A crowfoot is a specialty tool engineered, designed, and produced for a specific purpose to reach where a wrench cannot.
Tool Kits are Personal
Some mechanics get by with a basic tool kit, adapting their style and upgrading their skills to make do. Others head in the opposite direction and outfit their arsenal with every whiz-bang tool known to humankind. Those folks must have a vastly different tool budget than I. Some toolboxes are enormous and incorporate speakers, lights, and independent suspension with anti-lock brakes. While they hold an impressive array of tools, is it worth it to purchase and care for something you will only use once every five years?
One does not have to break the bank when outfitting their hangar tool collection. Start with the basics and build out as needed.
My tool collection began in high school when my brother and I received tool sets for Christmas one year. The black toolbox had a lid that lifted and three drawers that pulled out from the front. To a teenager, this was as close to a rite of passage as I was going to get. I still have many of the tools today.
A Necessary First Course
Recently, we discussed the importance of procuring, receiving, and installing approved aircraft parts. The next step in our pursuit of aviation maintenance sustainability is tooling. Maintaining an aircraft goes far beyond gassing up and taking off. Remember those early days of ground school? The introduction to terms like pitch, roll, and yaw were drilled into you before you stepped foot on the ramp. Paperwork, parts, and tools are the ground school of aircraft maintenance. If you get sideways on a logbook entry, it could cost you down the line.
Tools run very much like everything else one needs in day-to-day life. There are entry-level beginner sets, mid-grade professional options, and full-blown custom sets with Bombardier-like funding required. If you have to ask how much, you cannot afford it. Mechanics are hyper-protective over their tools as they make their living with them. My rig has seen its ups and downs, and after the 10-year stint at the mercy of my techs at the engine shop, let’s say I have some gaps in my offering.
So, bottom-line, what should you do when outfitting your aviation-grade tool inventory? I am glad you asked. Just like a walk-around preflight, we have a checklist. My alma mater, Embry-Riddle Aeronautical University, publishes an excellent tooling-required list for prospective airframe and powerplant (A&P) students. This resource is a great place to start, and everything does not have to be obtained all at once.
As the profit-sharing season is forthcoming, why not live a little and go for a complete subset? Kits are a great way to build tooling, and it is cheaper than purchasing one tool at a time. Look for seasonal deals and monthly specials. Another great venue to collect tools is to work with a local tool truck. Many of these are locally owned and operated; they have a license agreement with MAC Tools, Snap-On, Cornwell, or numerous other manufacturers.
“As the profit-sharing season is forthcoming, why not live a little and go for a complete subset?”
Some operators will open a line of credit and schedule out the payments. They are informative, and the good ones are always willing to give advice. Besides, tool trucks are cool.
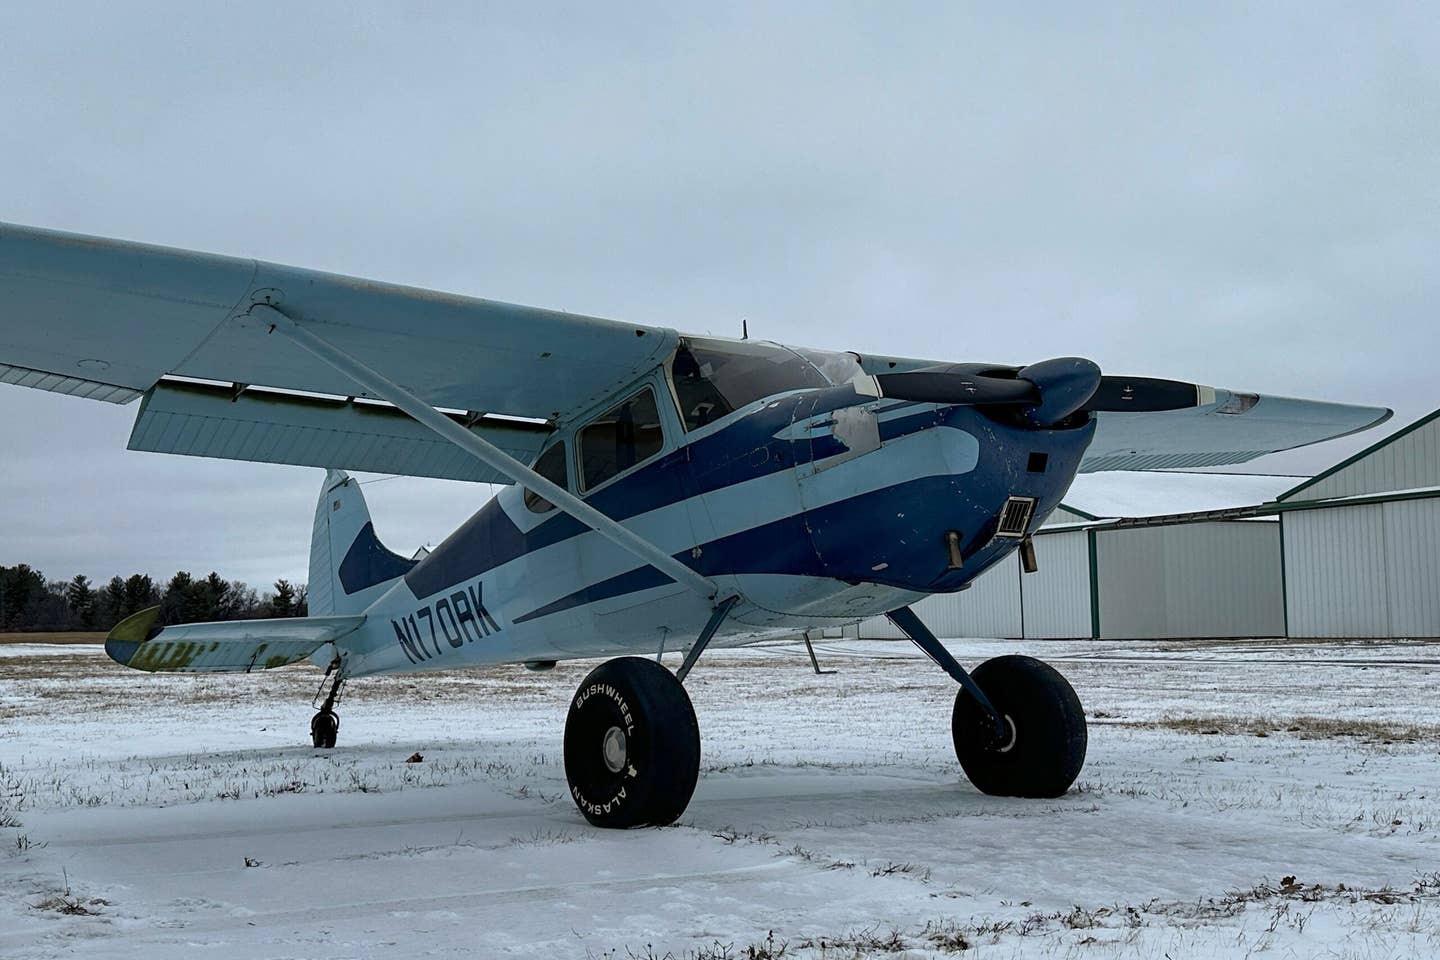
Gathering the proper tooling is only the beginning of operating a successful aircraft maintenance program. A tool control program is critical to ensure long-term success. Tool control is the management, organization, and accountability of tools. It doesn’t matter if you operate one Van’s RV-7 you built in your garage or manage several Beechcraft King Airs in a corporate flight department; tool control is at the core of any maintenance plan.
The FAA has an advisory circular that addresses tool control. AC No. 150/5380-5B Debris Hazards at Civil Airports addresses tool control several times. Yes, of course, you knew the FAA would have an AC on this. As we move forward, it will be helpful to note that the FAA will most likely have a technical bulletin on just about everything we discuss. Such is life in a regulated industry.
Up to this point, we have been discussing hand tools. In the articles to follow this series, we will explore further into the world of test equipment, flow benches, non-destructive testing (NDT), torque wrenches, and more. Each of the above will require an additional layer of oversight and calibration.
As with anything in aerospace, tooling must have documented controls to ensure a proper operation. I recently spent some time with Jon Byrd, executive director of Aviation and TCSG State Aviation Program Advisor for Georgia Northwestern Technical College (GNTC) in Rome, Georgia. We touched on several key issues facing aircraft maintenance, including tool control.
FLYING: How necessary is tool control for the aerospace industry?
Byrd: Tool control is critical to any aviation organization. There is zero room for error when maintaining aircraft. Tool control and loss prevention is part of the mindset, the culture of aviation. Something as simple as a socket left in a turbine engine nacelle would be devastating.
FLYING: What solutions did Georgia Northwestern Technical College implement regarding tool control?
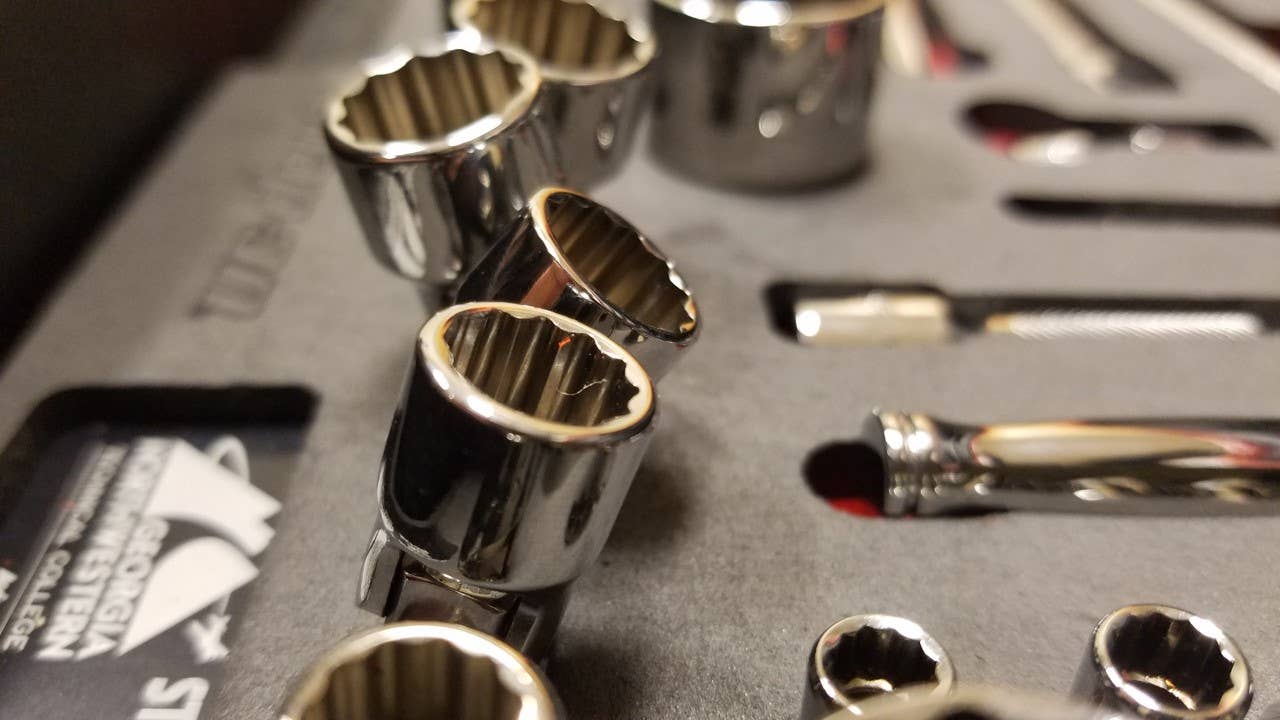
Byrd: GNTC operates from Aviation Training Center at Russell Regional Airport/J.H. Towers Field (KRMG) in Rome, Georgia, and recently launched the Aviation 7S Program, a modified version of the organization method 5S, adding safety and security to better align with the industry. The 7S method centers on shadowboxing toolboxes. Benjamin Franklin once famously said a place for everything, everything in its place. Shark-Co Manufacturing builds custom foam molds that incorporate our minimum tool list and form fits them to the student’s toolbox.
FLYING: What is the first step to a tool control program?
Byrd: Assess your current program. Be honest with yourself and perform a needs assessment. Can you detect within seconds if a tool is out of place? Once you determine what is needed, create a plan, reassess, and implement.
Jon also offers this sound advice. Never allow yourself to become comfortable in this industry. Complacency can be deadly in aviation. Continuous improvement should be your mindset, and an effective tool control program is the first step.

Sign-up for newsletters & special offers!
Get the latest FLYING stories & special offers delivered directly to your inbox


