Mastering Descent Is an Art Form
There’s much skill involved when it comes to getting down quickly and safely.
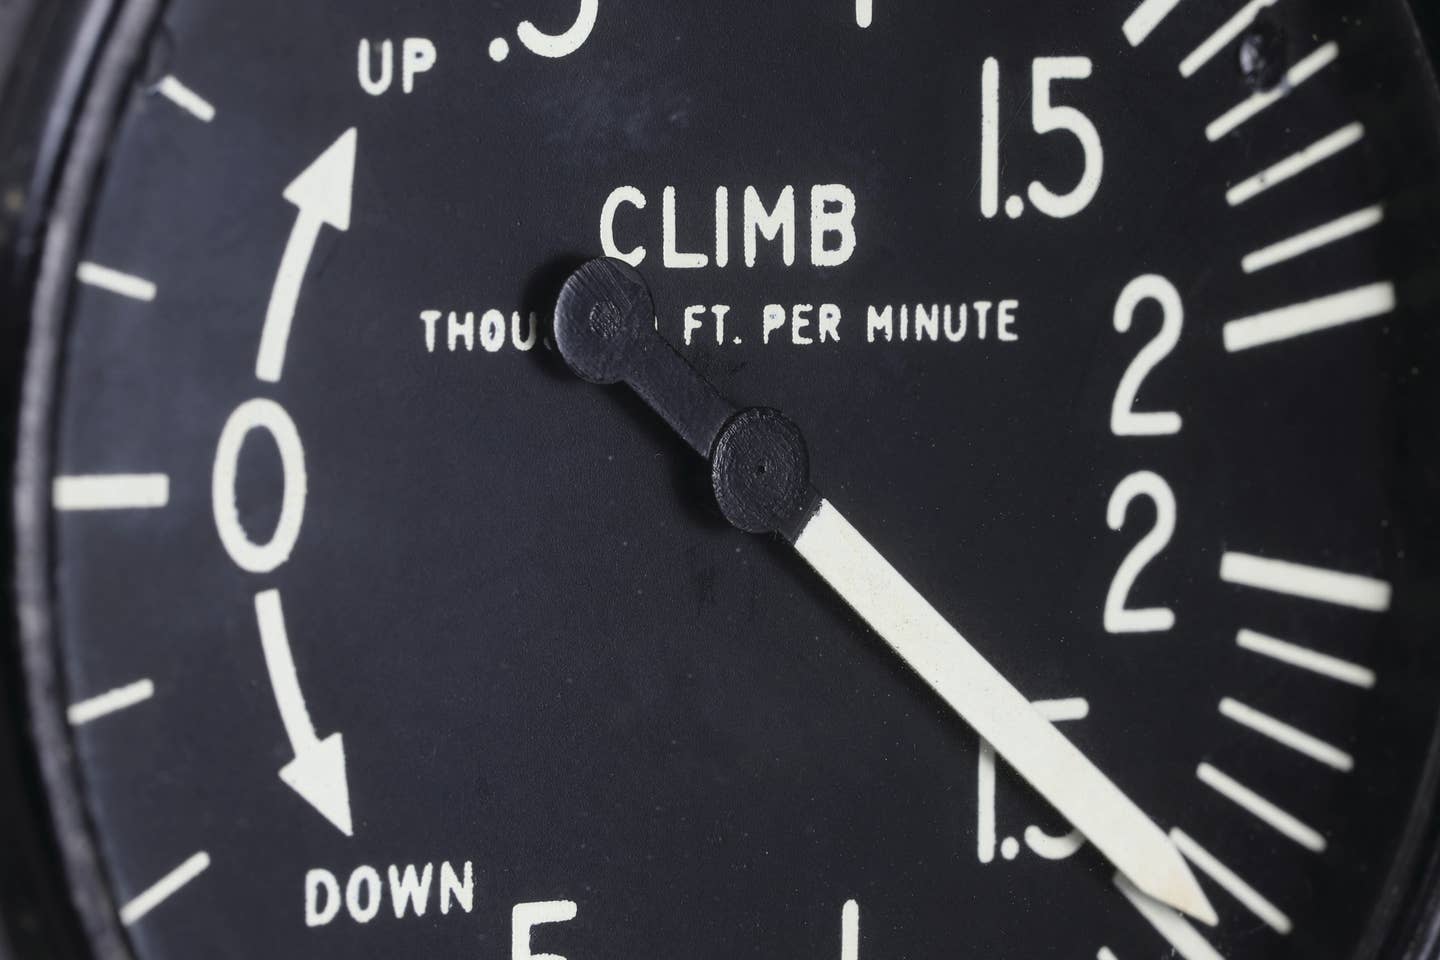
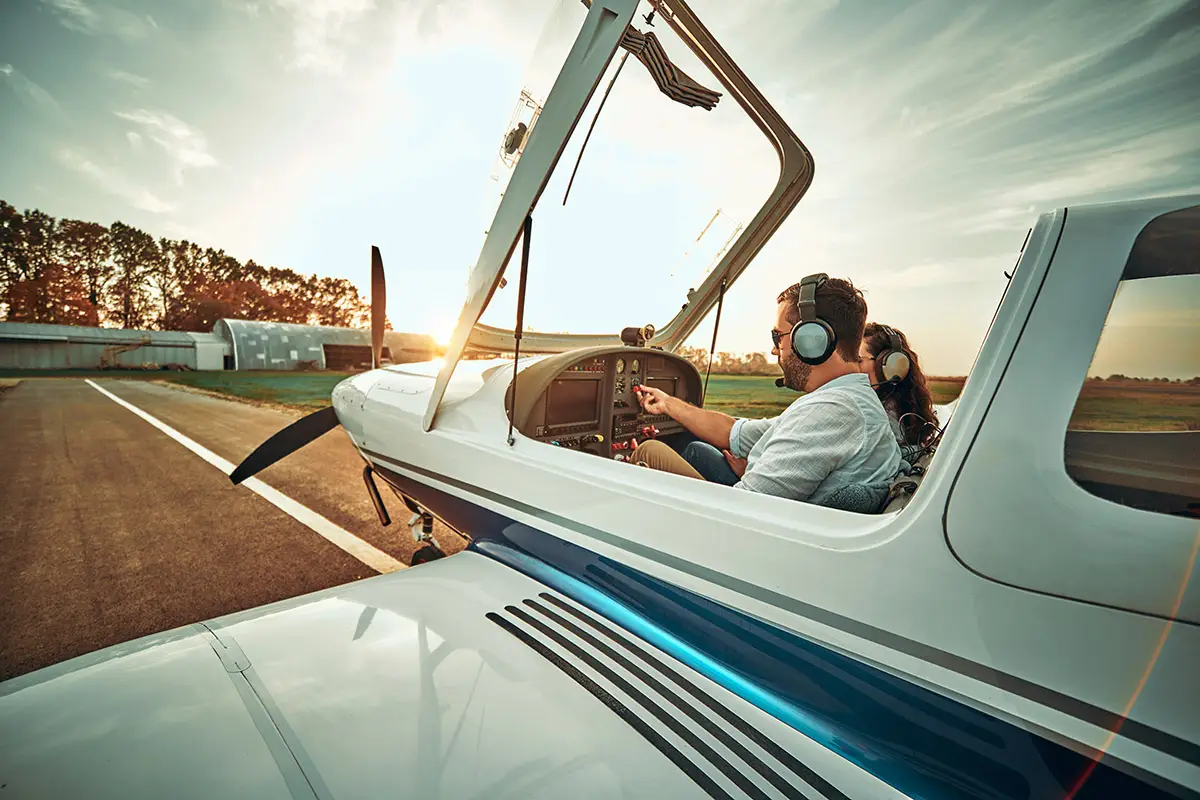
When it comes to learning powered descents, it is best to begin with a constant rate descent. [Adobe Stock]
“How do we get down?”
“Bring the power to idle, and gravity will do the rest.”
If you're not already a subscriber, what are you waiting for? Subscribe today to get the issue as soon as it is released in either Print or Digital formats.
Subscribe NowI have used this line before. I assure the learners that in my 30-plus years of flying and 20-plus of instructing I have never had an airplane stay stuck up there.
Jokes aside, one of the first things I demonstrate to learners is that bringing the power to idle will not make the aircraft fall out of the sky like a brick. If you pitch for best glide and trim the aircraft to hold it, you will get the most time from the altitude you have and eventually reach land.
To demonstrate this, we take the aircraft up to a specific altitude (I like to have at least 2,500 feet to play with before I reach 1,500 agl), do a clearing turn, identify a place to land just in case, run the appropriate descent checklist, add carburetor heat if required, and bring the power back to idle. Trim the aircraft best glide and let gravity do its thing. Usually, it gives you time to go through the emergency checklist as one does when there is an uncommanded loss of engine power.
Constant Rate, Constant Airspeed
When it comes to learning powered descents, we begin with a constant rate descent.
Reduce the power to 2,000 rpm and aim for 200 feet per minute descent. It’s barely a descent, but if you have a passenger on board with sensitive ears, like a small child, they will appreciate it. Note the indicated airspeed. Now adjust the pitch to increase the rate of descent to 500 feet per minute. Note the airspeed. Notice that when you lower the nose (in an aircraft with a fixed-pitch prop), the tachometer shows an increase, so be ready to adjust power.
- READ MORE: The One-Time Water Landing
Now let’s note the difference in altitude loss between best glide and other speeds. Achieve best glide and notice the rate of descent...then trim for a faster speed, say 10 knots higher than VG, note the rate of descent, then adjust the speed to 10 knots slower than best glide—taking care not to stall— and note the rate of descent.
Steep Spiral Descent
This maneuver is normally taught to commercial and CFI applicants. This requires the pilot to demonstrate three 360-degree turns while maintaining a ground reference point by varying the bank angle to account for wind variations while maintaining a constant airspeed.
In a real-world application, this maneuver comes in handy when descending in a confined area, such as a mountain pass or where you need to stay over a spot such as a runway or emergency landing area.
Here’s how to execute it:
Select an altitude that will allow you to perform at least three 360-degree turns. Identify the roll-in and roll- out heading and note a visual landmark, if able on the nose. Clear the area.
Determine the altitude where the maneuver will terminate. Close throttle, pitch for manufacturer’s best glide speed.
Enter the maneuver on downwind. Gradually increase bank angle and adjust to maintain a uniform radius of the turn.
- READ MORE: A New Mission to Break Down Barriers
When the ground speed decreases, the bank angle should decrease. The pilot should adjust the pitch to adjust the airspeed.
The aircraft should return to level flight at the predetermined altitude and heading. Bank angle should not exceed 60 degrees plus or minus 10 knots, and the heading for rollout should be within 10 degrees of what was selected.
Emergency Descent
The step descent that is done during the “engine fire” practice is one of those maneuvers you need to be sure to brief, as it can be a little unnerving to pull the power to idle and simulate pulling out the mixture then push the nose down in an effort to blow out the flames. Real world the mixture is pulled out because engine fires are often caused by fuel leaks.
Pro tip for CFIs: Guard the mixture during this one, as there have been times when the learner, full of adrenalin, actually pulls the mixture out instead of the throttle.
Rapid Descent Dirty
This maneuver is used in the event of cabin depressurization, fire, or anything else that makes it necessary to get down in a hurry without exceeding the structural limitations of the aircraft.
Practice this by getting to an altitude that will allow you at least three 360-degree turns. Perform clearing turns and identify an emergency landings area, then roll into a 30- to 45-degree bank.
The flaps and landing gear should be deployed as well with the pilot being very careful not to exceed VFE or VLE speeds. If in a complex aircraft, the propeller should be placed in low (fine) pitch to act as an air brake.
If the descent is conducted in turbulent conditions, the pilot also needs to comply with the design maneuvering speed (VA) limitations. The descent should be made at the maximum allowable airspeed consistent with the procedure used.
This provides increased drag and a high rate of descent. The recovery from an emergency descent should be initiated at a high enough altitude to ensure a safe recovery back to level flight or a precautionary landing.
Forward Slips to a Landing
A slip is used to increase the rate of descent and steepen the approach angle without increasing airspeed.
Before flaps were invented to allow a steeper angle of descent without an increase in airspeed, slipping was the normal way to descend for landing. Now it is mostly done in aircraft that do not have flaps, in situations where the flaps are malfunctioning, or when you’re too high on final and must lose altitude.
Before attempting any slips, consult the POH and check the aircraft for an “AVOID SLIPS WITH FLAPS EXTENDED” placard. Some manufacturers do allow slips with at least partial flaps, so it is important that you note this in every airplane you fly.
Here’s how to execute it:
Power to idle, carburetor heat on (if available). Pitch down for an airspeed slightly slower than normal glide but not get so slow that you risk a stall.
Apply bank angle with ailerons into the wind while maintaining flight path and runway alignment with opposite rudder. This will result in uncoordinated flight, which can be spooky for learners, so it is a good idea to first attempt this maneuver at an altitude where you would normally perform stalls.
Remember, the steeper the bank angle, the faster the rate of descent. It is important to note that the airspeed indicator may be inaccurate in this configuration—you will use the elevator and pitch for speed.
When you are just above the runway, remove the forward slip, level the wings with the ailerons, and glide to the runway at normal speed.
Plan the Descent Into the Pattern
One of the first lessons you learn is that you should be established at pattern altitude when you enter on the 45 to the pattern. But you have to get there first. Planning your descent takes some math, so you don’t descend down too early or too late.
This feature first appeared in the September Issue 950 of the FLYING print edition.
Sign-up for newsletters & special offers!
Get the latest FLYING stories & special offers delivered directly to your inbox

