Practicing Flow Motion in Sim
Muscle memory behind setting up an aircraft is an integral part of any professional pilot’s daily routine, whether flying a small or large aircraft.
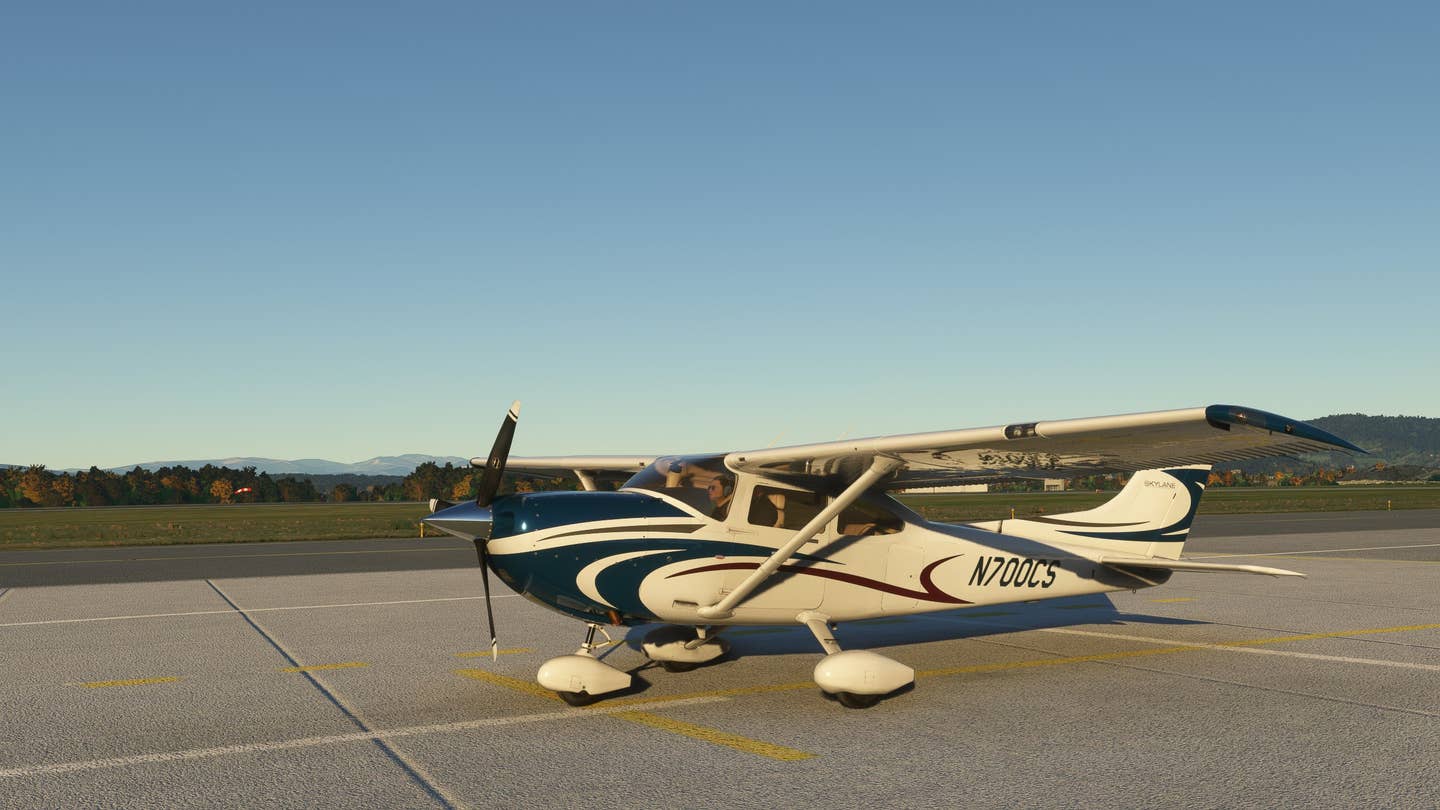
Cessna 182 Skylane in sim. [Image courtesy Peter James]
Flow motion or flows—the muscle memory behind setting up an aircraft—are an integral part of any professional pilot’s daily routine whether flying a small or large aircraft.
Over my flying career I learned every aircraft that I have flown is able to have a flow that backs up the official checklist, enabling a pattern that enables a smooth, fast start and finish to every flight all while not missing required items shown on the checklists.
Some aircraft have checklists, done line by line, and others have “do lists” that cover larger chunks of items, not always spelled out one by one but contain only the main items or subjects, with the pilot required to know by heart the hidden items along the way underneath the main subjects.
“FATS” —flaps, air brakes, trim, and speed—was taught to me at Seattle’s King County International Airport-Boeing Field (KBFI) in a brand-new 777 level D sim I flew 20 years ago. My instructor gave me this tip that I carry to every aircraft to this day, and mentally say it many times during every flight. This doesn’t ever replace a checklist at all but is a mental “catchall” that will work and has indeed saved me a few times due to a typical checklist error, taxi interruption along the way, or any other reason the crew has missed an item.
This is a skill where being a flight simmer really helps real life. In my case, years of being hasty in my sim with little time to program the flight management system (FMS), or speeds if I am just playing around, has taught me where and when to rotate and how an aircraft will be ready at the right time. An aircraft without V-speeds is not an emergency. I have almost memorized the range of takeoff speeds after enough hours in each model.
Let’s start the basic flow pattern with a new Cessna 182 Skylane that I purchased from Carenado.
A basic flow can begin on preflight, and most pilots already do this even if it’s not referred to as one. A typical “walkaround” is a flow just using your entire body. The aircraft flight manual (AFM) usually shows the walkaround in a foot path with each item being investigated. Many commercial add-ons now have aircraft where a walkaround is an option.
- READ MORE: Ultimate Issue: Taking Sim to a New Level
Preflight
The first step in any preflight is to get your height set for proper pilot viewing.
Be sure to be high enough in your seat to enable viewing over the nose to the ground. This is absolutely required for making good landings and a technique that is required in real life as well. All this is accomplished by setting up your key commands within Microsoft Flight Simulator (MSFS) to whatever you want, linked to the “TRANSLATE COCKPIT VIEW UP/ DOWN/ LEFT/ RIGHT.” This is very important and a tip many new sim pilots don’t know.
My guide to all of this can be found here.
Following the Flow
From left to right sitting in the cockpit of the Cessna 182 or any GA single-engine aircraft, it’s all the same.
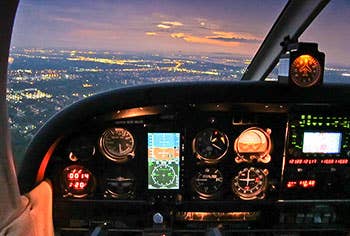
From the security of the door you’ll want to check that all preliminary switches are in the right place prior to power-on. In the image above, checking the circuit breakers, mags area, then up to the panel lights and exterior lights, down across the yoke and possible control lock, fuel selector, all trim wheels, then up to the power levers, prop, and mixture.
Next, check from the copilot area, AP buttons, flaps, and heating knobs to the opposite door. Once the plane is running it’s time to use your FATS check, even on a 182. Flaps, air brakes (could substitute air brakes for something else), trim, and speed. I used to hear everyone using “GUMP”—gas, undercarriage, mixture, and prop—which is also a handy memory flow for most complex pistons.
When fortunate enough to have a flight sim counterpart similar to the real jet I'm getting in a type rating in, I have used both X-Plane (XP) or MSFS abundantly for years.
In September, I just got a new type in the Citation Latitude, so I used the default Longitude as a guide for my study. They don’t share the same type rating, but the Latitude is the smaller “sister” aircraft of the Longitude, and the cockpit, avionics, and layout are almost entirely identical.
We conduct a “dark” check of all items just like the Cessna. All items should be off.
The flow I am going to show is the one we use in the real Latitude and the one easily used in the Longitude shown here to power up the ship from “cold and dark” to fully alive and ready for operation. Once well versed with the flow, you’ll need only about five minutes from dark and silent to fully running on APU power all lit up and ready for action.
Most business jets don’t have traditional avionics master switches found on smaller aircraft.
With the batteries toggled on, everything powers up. It can be startling as a big clunk or avionics whine can be loud. Sadly, all sims don’t simulate these sounds very well. It is just solid state enough to handle abrupt on-and-off cycles that would seem destructive in a 182.
Power up upon battery buttons being pressed only takes a few seconds. In the real plane this is loud as things wind up and avionics cooling fans whir.
Once all the avionics are online, you’ll flow into the GTS unit and take care of the flight initialization procedures, which include weight and balance, fuel, weather, flight route, runway, performance numbers, and built-in system tests. Then you’ll flow down to the secondary electric trim system by lifting the yellow cover and pressing it on using the rocker switch below to run the nose trim up or down.
Unselect the switch and do the normal trim test on the left hand top of the yoke too. Continue your flow down the center panel to the aileron and rudder trim test. This is all on battery.
We are “stalling time” so as to not interfere with the electrical system yet as the standby unit must take two minutes to test and become fully operational. By the time these trim tests are completed it’s time to fire up the APU just up to the right. Once the APU is started with a twist from on to start, it’s only a few seconds until electrical DC juice is ready for the entire plane.
After establishing the power, APU and environmental all running, prestart items completed, etc, there's not much else to do in this phase of flight except wait for your virtual passengers to arrive.

Sign-up for newsletters & special offers!
Get the latest FLYING stories & special offers delivered directly to your inbox


