The Wisdom in Not Putting All Your Eggs in the Tech Basket
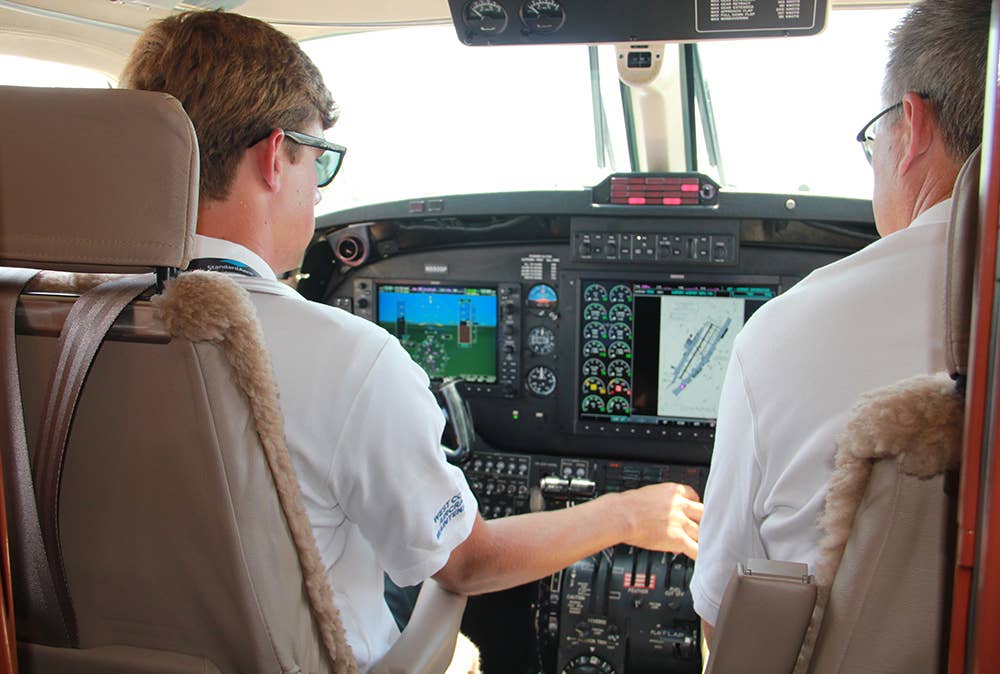
If you don’t have the ability to navigate by pilotage or the compass, are you really qualified to be in that cockpit?

Analog cross-country flight planning begins with a paper sectional, navlog, plotter, and mechanical E6-B. [Credit: Adobe Stock]
When I spread the Seattle VFR sectional out on the desk, the private pilot learner breathed a sigh of relief.
“Thank goodness you use paper,” he said, going on to tell me that he wanted to learn using paper sectionals and navlogs, and once he mastered those, he might move into using an electronic flight bag (EFB).
He said he wanted to learn to use analog tools because that’s how he processed information best. Also, he said he knew devices could fail or go missing, and if you don’t have an analog backup, the mission would be over. He worked in the tech industry (space flight), where equipment and technology failures are planned for.
I have no problem teaching with paper. With primary learners, I prefer it, as learning to flight plan the “old-school” way provides a good base on which technology can be added at a later date.
According to multiple CFIs and DPEs I know, many pilots who are solely training using EFBs and an app for their cross-country planning are often weak in the elements of a VFR flight plan because they never learned how to do it beyond putting information into a computer and letting the app do its magic. They often do not understand where the data comes from, which makes it difficult to know if it is corrupt or incorrect for the given situation.
The Airman Certification Standards (ACS) note that the EFB is permitted, as the focus of that portion is that the applicant “demonstrate satisfactory knowledge of cross-country flight planning.” That includes route planning, airspace, selection of appropriate and available navigation/communication systems and facilities, altitude accounting for terrain, effects of wind, time to climb and descent rates, true course, distances, true heading, true airspeed and ground speed, estimated time of arrival, fuel requirements, and all other elements of a VFR flight plan.
It's difficult to learn this past rote memory when the computer does all the planning for you. This is why many CFIs opt to teach both methods, and often begin with the basics, a paper sectional and looking out the window before adding in the use of the EFB.
Analog Cross-Country Flight Planning
Flight planning begins with a paper sectional, navlog, plotter, and mechanical E6-B. I'm a fan of the E6-B because the wind side is very useful for determining crosswind components.
The instructions for the use of the device are printed on it. All the calculations are basically math story problems, and the instructions walk you through the process. The plotter also has instructions printed on it. The informational boxes on the paper navlog are labeled so you know where to put the information.
The lesson begins with reading the empty navlog. The CFI explains the terms true course, variation, magnetic heading, deviation, and compass heading. Now flip over the E6-B to the wind side, where the formulas for calculating this information are printed. Identify the directions for determining ground speed and wind-correction angle, noting that process is also printed on the device.
- READ MORE: How To Use a E6B Flight Computer
Now it's time to spread out the sectional and get to work, picking landmarks to use as check points for pilotage, determining the true course, finding the deviation, etc. The filling out of the navlog begins with the recording of the checkpoints and measuring distances between them. Put this information in the appropriate boxes. Always do this process in pencil and have an eraser handy.
Make sure the destination meets the definition of a cross-country flight for the certificate you seek. For private pilot airplane, it is 50 nm straight-line distance, and for sport pilots, 25 nm. Be sure you are using the correct scale on the plotter.
I walk the learners through the first two lines of the navlog. This takes them from the departure airport to the top of climb, and then the first leg of the flight. Once the navlog is filled out, we go to the performance section of the POH to determine true airspeed (TAS), fuel burn, and time to climb.
- READ MORE: Make Friends With the E6B
The wind side of the mechanical E6-B is used to determine the wind correction angle. Pro tip: if you will be using more than one set of wind values for the flight, give them distinct symbols on the E6-B, such as an “X” for the winds at 3,000 feet and a “dot” for the winds at 6,000 feet.
Make sure to note the winds and the symbol on the navlog and do not erase the wind marks until after the completion of the flight. This is important, because if you need to divert (and you will have to demonstrate this on your check ride), you don't want to lose time re-marking the wind dot on the E6-B.
Many learners find analog flight planning fun. There certainly is a sense of accomplishment after you've learned what makes a good checkpoint, how to measure the distances, determine aircraft performance and— the big kahuna— how to “spin the winds” on the mechanical E6-B to determine ground speed and time en route. Yes, those instructions are printed on the face of the device.
Applicants, please make sure you can navigate when technology—particularly the GPS—is taken away. By the way, DPEs are permitted to fail devices during the check ride. Fair warning: Don’t be the applicant who pulls out a second iPad or cell phone as backup because you’re missing the point.
Putting all your eggs in the tech basket isn’t going to help when the iPad overheats, there is a signal outage, or the device is otherwise rendered unusable. If you don’t have the ability to navigate by pilotage or the compass, are you really qualified to be in that cockpit?
Benefits of the EFB
The EFB is more environmentally friendly than paper charts and sectional because you don't have to cut down trees to get the information. Updating the information is easier as it can be done with a keystroke rather than a purchase, and it creates a more organized cockpit as the tablet stores the information and it can be accessed with a swipe of a finger rather than doing an advanced yoga pose in flight to reach for your flight bag.
The tablets come in several sizes, and there are many options for mounting them, including yoke or kneeboard. I'm not a fan of the suction-cup-on-the-windscreen method as that blocks part of your view outside.
If you opt for a yoke-mounted unit, make sure it doesn’t interrupt the travel of the yoke or stick or put the aircraft in a permanent bank. There are some tablets that are just too large for the cockpit. If you opt for a kneeboard-mounted device, make sure your kneeboard holds it securely and the kneeboard stays in place.
As far as data plans for navigation applications, you may find that the annual cost is competitive with that of replacing the paper sectionals and chart supplements.
The EFB is a wonderful tool, but like all tools it can be misused. It shouldn't become a crutch for the pilot who has forgotten how to read a sectional because of disuse. Don’t be that pilot who becomes so reliant on technology for navigation that you forget to look out the window.


Sign-up for newsletters & special offers!
Get the latest FLYING stories & special offers delivered directly to your inbox